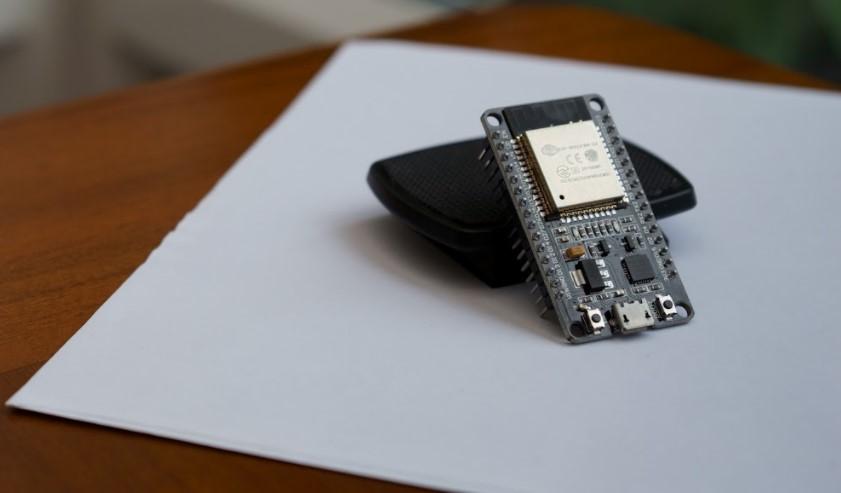
Installing the ESP32 Board in Arduino IDE
Requirements: Arduino IDE InstalledCopy permalink to clipboard
In order to proceed you need to have installed the latest version of the Arduino IDE. If you already have an older version , uninstall it and download the latest one. Otherwise it may not work. If you prefer the video version of this tutorial scroll down to the bottom of the page.
Installing the ESP32 in Arduino IDECopy permalink to clipboard
Follow the steps below to install ESP32 board in your Arduino IDE:
1. Go to: File > Preferences
2. Type in https://dl.espressif.com/dl/package_esp32_index.json into the “Additional Board Manager URLs” field. After that, press the “OK” button.
3. Open the Boards Manager. Choose Tools > Board > Boards Manager…
4. Enter ESP32 in the search box and click install button for the “ESP32 by Espressif Systems“:
5. Installation process should be completed in a couple of seconds.
Testing the InstallationCopy permalink to clipboard
Connect your ESP32 board to your computer.
1. Choose your Board in Tools > Board menu (when it comes to me it is DOIT ESP32 DEVKIT V1)
2. Select Tools > Port – if you can’t see the COM port, then you will have to install the CP210x USB to UART Bridge VCP Drivers.
3. Go to: File > Examples > WiFi (ESP32) > WiFiScan
4. A new sketch should open in your Arduino IDE:
5. Click the Upload button in your Arduino IDE. Give it a couple of seconds until the code compiles and uploads to your board.
6. If everything is fine, you will see “Done uploading” message.
7. Open Serial Monitor at a baud rate of 115200:
8. You should see the networks available near you by pressing the ESP32 on-board Enable button.
The EndCopy permalink to clipboard
That’s it. Thank you for your time reading this article. If you followed every step in this guide you should now have your ESP32 set up and running properly in your Arduino IDE.
Video version of this tutorialCopy permalink to clipboard

